Website Event Content Type
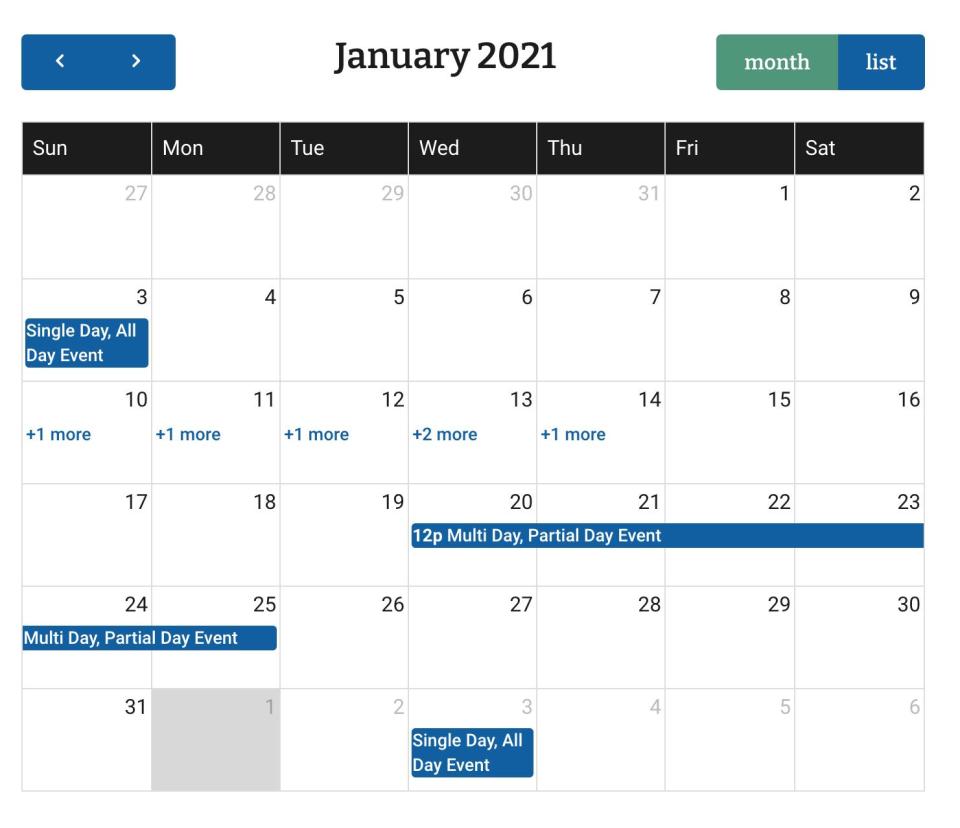
The Event content type allows you to add meetings which will be displayed on the Calendar.
Adding a New Event
Once logged in, from the Drupal Admin toolbar navigate to Content > Add Content > Event.
- Title: This is the title of the event. It will appear in all layouts of the event calendar.
- When: Include the date and time details for the meeting
- Start date and time
- End time
- All Day: Select this checkbox if the meeting runs all day.
- Duration
- Repeats: Select whether the Event is scheduled to be repeated. You have the option of editing the intervals for how long the Event is to be repeated.
- Location: Include the Latitude and Longitude coordinates for the Event.
- Content: Visit Page content type to view a complete run-down of all Content Row options.
Additional Options
- Related Content: Allows to link content to an existing contact content type.
- Related Contact: This enables you to include information for a Contact relevant to the content.
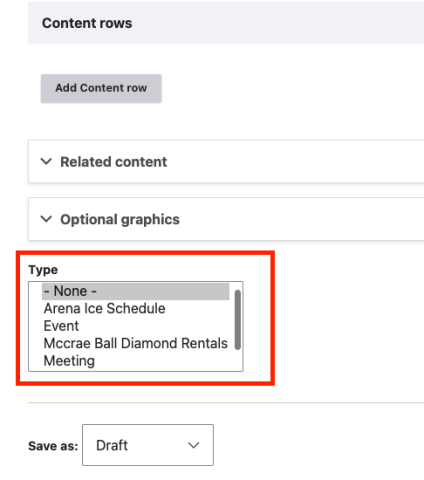
- Event Types (taxonomies): If you are using Event Types, you must select a category for your Event in order for it to appear in the filtered list.
- Optional Graphics: Include additional/optional graphics to the Alert.
- Icon: Click on the Font Awesome linked text under the field. Then search for the appropriate icon/style that you wish to use for the tile. Make sure to follow the formatting described in the reminder text under the Icon field.
- Image: Select or upload the image you wish to display.
Once you have filled out the above fields, make sure that you select Published.
(Note: Events will unpublish 10 months from the publication date.)
Editing an Existing Event
- Once logged in, click on Content from the top level of the Drupal Admin toolbar.
- Under Content type, select Event from the type options and click on Filter.
- Find the Event you are looking for and click on Edit from the right-hand column.
(Note: You can also delete Events in this manner.)
Advanced Page Settings
Settings for URL redirects, meta tagging and menu management can be found on the right-hand margin when editing or creating a new Page or content type. Visit Advanced Settings Instructions.
Engagement Event Content Type
The Event content type allows you to manage events that are displayed on the Events Calendar. Events can also be 'tagged' to a project so that they appear on that project page.
Adding a New Event
Once logged in, from the Drupal Admin toolbar navigated to Content > Add Content > Event.
Input the following fields:
- Title: This is the title of the event. It will appear in all layouts of the event calendar.
▼ When & Where
- When: Include the date and time (use AM/PM) when the event will be taking place.
You can add other dates and times to the event by clicking on the Add another item button.
- Where: Include the name of the event location. Additional contact or location information should be added to the main body content field.
▼ Relating Project(s)
- Related Project(s): Link to existing Project content types. You can start typing in the name of the project and if it is already on the CMS, it will appear as an autofill option.
If you wish to link other projects to the Document content type, click on the Add another item button.
▼ Registration
- Type: Select from the drop-down menu the type of registration the event is going to have:
- Webform: Select from the drop-down menu what Webform built on the CMS will be used for registration.
- Registration form settings: Select the status of the registration webform
- Scheduled: Set up the schedule for when the registration webform is going to open and close (set a date and time range).
- Registration form settings: Select the status of the registration webform
- Embed: Paste the embed link under the Registration form body content editor.
- Link
- URL: Start typing the title of a piece of content to select it. You can also enter an internal path such as /node/add or an external URL such as http://example.com. Enter <front> to link to the front page. Enter <nolink> to display link text only. Enter <button> to display keyboard-accessible link text only.
- Link text: Type the text that is going to appear linked with the above URL
- Webform: Select from the drop-down menu what Webform built on the CMS will be used for registration.
Body: This field may be used to provide additional event details.
Once you have filled out the above fields, make sure that you select Published. Once published, the event will automatically populate the interactive calendar.
Editing an Event
- To edit an Event, click on Content in the Drupal toolbar.
- Filter by content type Event.
- Click to edit the Event.
- Once you have made your changes, make sure that you select Published.